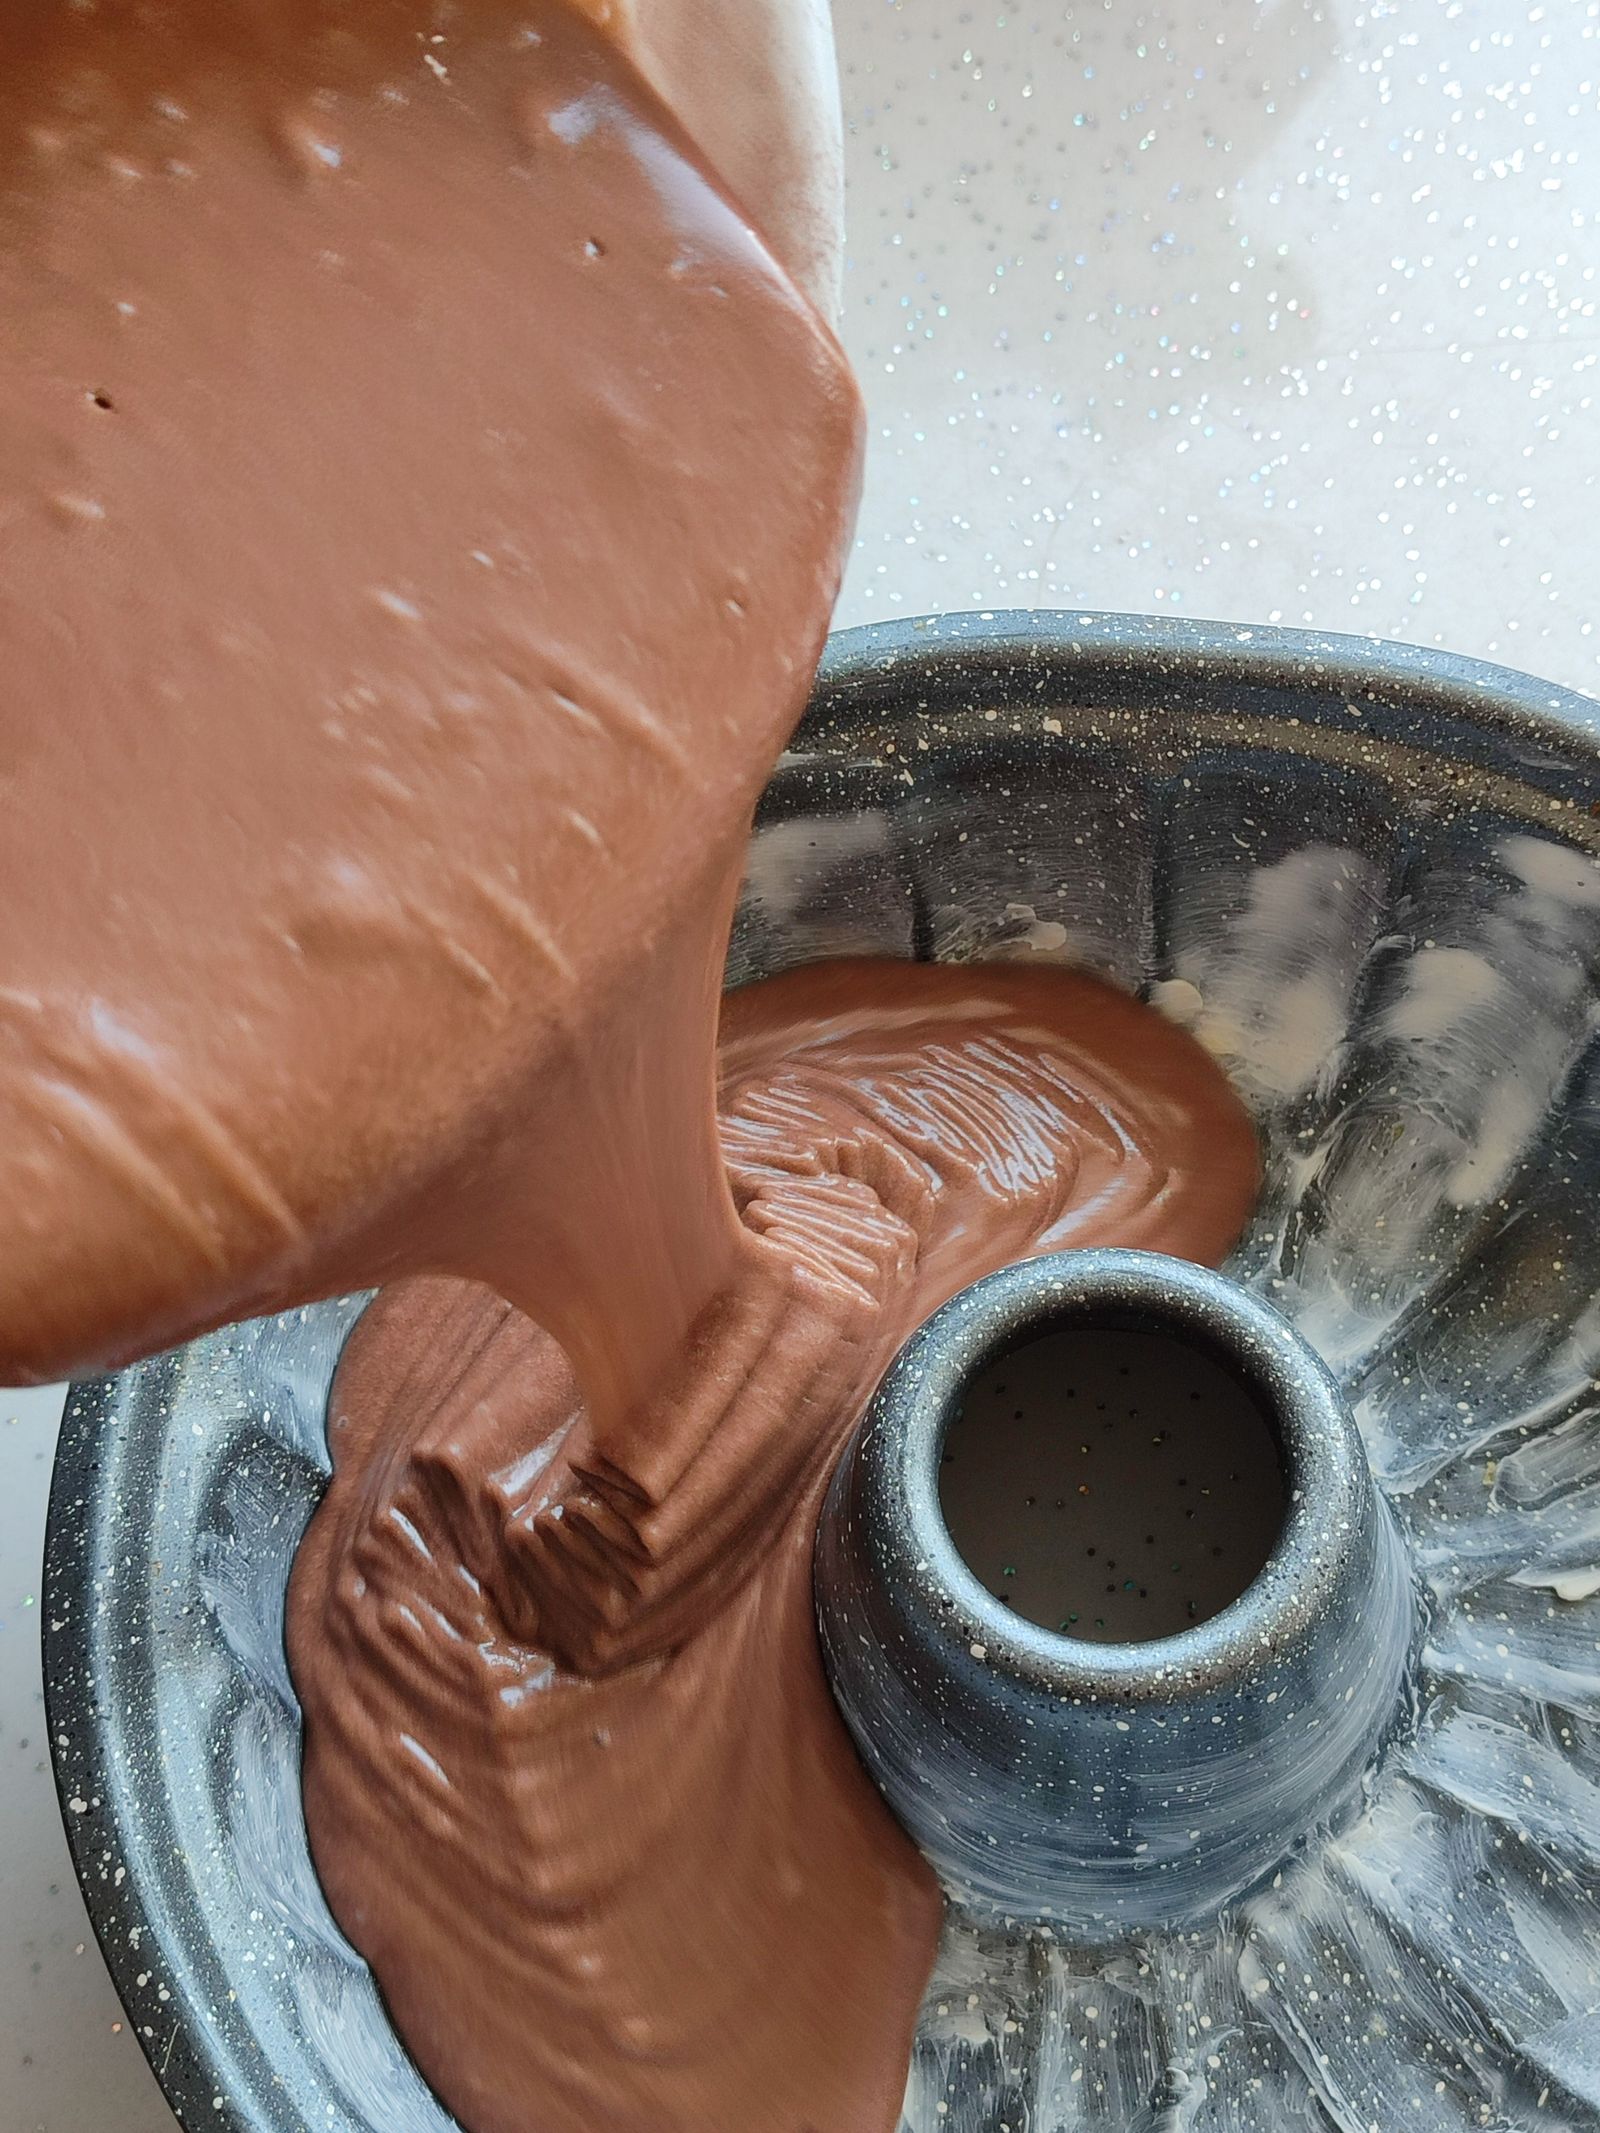
A detailed cake pan promises a lovely shape, and then asks you to reach every little groove before the batter goes in. Give that preparation a moment of attention, it is one of the steps that helps the design appear on the finished cake.
A detailed Bundt pan needs preparation that reaches the small grooves as well as the broad surfaces. Begin with a clean, dry pan and the instructions for both the pan and the recipe.
Coat the details evenly
Nordic Ware’s Bundt guidance emphasizes preparing the pan carefully before adding batter. Use the recommended grease-and-flour method or an appropriate baking spray with flour when the manufacturer permits it.
Work into the center tube and decorative recesses. A brush can help distribute the coating, but avoid leaving thick pools that obscure the pattern.
Do not assume a plain cooking spray is suitable for every nonstick pan.
Match the recipe to the capacity
Check the pan’s stated capacity and the recipe’s intended size. Leave the recommended space for the batter to rise rather than filling to the top.
If you have extra batter, bake it separately in suitable prepared bakeware instead of forcing it into the Bundt pan.
Follow the recipe’s doneness checks; appearance at the top may not tell the whole story in a deep pan.
Time the cooling step
Use the recipe and maker’s cooling guidance before turning out the cake. Releasing too soon can leave the cake fragile, while leaving it indefinitely can create other release difficulties.
Set the serving plate or rack securely over the pan and invert carefully. Avoid digging into a nonstick surface with a metal tool if the cake resists.
If the release is imperfect, there can still be a good dessert. Keep a note of the preparation and try one small change next time.